Keeping a Working Springer Spaniel’s Nails Short
It's a common dilemma for anyone with an active, working English Springer Spaniel: you want their nails short enough to keep them comfortable and safe in the field, but those active paws seem to grow nails at an alarming rate, and trimming can feel like a constant battle. This guide is dedicated to helping you master the art of keeping your working Springer's nails properly conditioned, preventing pain and injury, and ensuring they can perform their best without a hitch.
Why Short Nails Are Non-Negotiable for a Working Springer Spaniel
When you have a dog bred for performance, like our beloved English Springer Spaniels, every aspect of their physical condition contributes to their ability to do their job. Long nails might seem like a minor cosmetic issue to some, but for a working Springer, they are a significant impediment that can lead to serious problems. It’s not just about aesthetics; it's about biomechanics, safety, and comfort.
Impact on Gait and Joint Health
Imagine trying to run a marathon in shoes that are too small, where your toes are constantly pushed up and back. That's essentially what long nails do to a dog's paws. When a Springer's nails are too long, they hit the ground before the paw pads do, forcing the toes to splay and pushing the foot back up into the joint. This unnatural pressure over time can lead to significant orthopedic issues. It can misalign the bones in the paw, put strain on the wrist (carpal) joints, and ultimately contribute to problems further up the leg, impacting the elbows and hips.
For a dog that spends hours quartering a field, flushing game, or retrieving in varied terrain, this constant stress is profoundly detrimental. A properly functioning paw should have the pads making full contact with the ground, providing stability and shock absorption. Long nails prevent this, altering the dog's natural gait and putting undue stress on their entire skeletal system. If you're concerned about your Springer's long-term joint health, especially with conditions like Hip Dysplasia in a Springer Spaniel or Elbow Dysplasia in a Springer Spaniel being a concern for the breed, keeping those nails meticulously short is a fundamental preventative measure. It ensures their feet can spread naturally and absorb impact as intended, preserving their soundness for as long as possible.
Preventing Injury in the Field
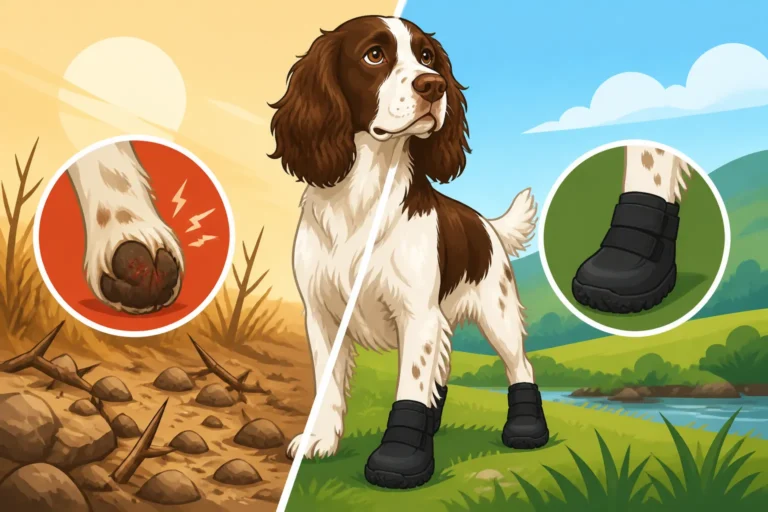
The life of a working Springer Spaniel is one of adventure and sometimes, danger. They plunge through dense cover, navigate rocky terrain, and scramble over fallen logs – all environments where long nails become a liability. A nail that's too long is an open invitation for injury. It can snag on a root, get caught in thick brambles, or be torn off entirely if it snags sharply while the dog is running at speed. These aren't just minor scrapes; a torn nail can be a deeply painful injury, often bleeding profusely and requiring veterinary attention. Such an injury can sideline your working dog for weeks, leading to frustration for both you and your eager companion.
Furthermore, a long nail is more prone to splitting, cracking, or breaking, especially in colder weather when nails can become more brittle. Imagine your dog enthusiastically working a scent trail, only to yelp in pain because a nail has ripped. Beyond the immediate discomfort, an open wound on the paw is an entry point for bacteria, potentially leading to infection, especially in muddy or damp conditions. Preventing these injuries means proactively keeping those nails trimmed, making them less likely to catch and more resilient to the demands of their environment. Every check after a hunt, as described in Checking a Springer Spaniel's Feet After Working, should include a thorough nail inspection.
Maintaining Traction and Performance
A working Springer Spaniel needs every advantage to perform at its peak. This includes having excellent traction. The pads of a dog's paws are like the gripping sole of a specialized shoe, designed to provide purchase on various surfaces. When nails are allowed to grow too long, they lift the paw pads off the ground, reducing the amount of surface area available for grip. This loss of traction can be significant.
Consider a Springer making a tight turn while following a scent, or scrambling up a slick bank to retrieve a downed bird. If their nails are pushing their pads off the ground, they're more likely to slip, stumble, or lose their footing. This not only increases the risk of falls and sprains but also directly impacts their efficiency and speed. A dog that is constantly fighting for grip will tire faster and be less effective in their work. Short nails allow the paw pads to dig in and provide optimal traction, giving your Springer the confidence and stability they need to navigate any terrain with agility and precision. It’s a small detail that makes a huge difference in their overall performance and safety.
The Unique Challenges of a Working Springer's Nails
You might think that all the running around a working Springer does would naturally keep their nails short. While it definitely helps, it's rarely enough to maintain the ideal length, and there are specific characteristics of a working dog's nails that make consistent care even more crucial and, at times, more challenging.
Rapid Growth and Hardness
Working Springers, much like many active breeds, often have nails that grow surprisingly fast and are incredibly tough. This isn't necessarily a bad thing – strong nails are less likely to break under normal circumstances. However, it means you can't just trim them once a month and expect them to stay short. The rate of growth demands frequent attention. Furthermore, many Springer Spaniels have dark nails, which adds another layer of difficulty to trimming. Unlike clear or light-colored nails where you can easily spot the pink "quick" (the live tissue containing blood vessels and nerves), dark nails conceal this vital landmark.
Trying to cut dark, hard nails too aggressively can easily lead to "quicking" – cutting into the quick, which is painful for the dog and results in bleeding. This experience can make a dog highly averse to future nail trims, turning a necessary routine into a stressful ordeal. The combination of rapid growth, hardness, and often dark pigmentation means you need a consistent approach, the right tools, and a good understanding of nail anatomy to manage a working Springer's nails effectively.
Environmental Wear and Tear – Or Lack Thereof
It's a common misconception that because a working Springer spends so much time outdoors, running over various surfaces, their nails will naturally be filed down to an ideal length. While certain abrasive surfaces like concrete, asphalt, or rocky trails can contribute to nail wear, a working Springer's environment often consists of soft earth, tall grasses, dense underbrush, and even water. These surfaces provide very little natural abrasion for the nails.
Consider a dog hunting in a typical rural setting: they might cover miles, but much of that distance is on soft ground that offers minimal natural filing. In fact, running through heavy cover can actually exacerbate the problem of long nails, as they are more likely to snag and tear rather than wear down evenly. Moreover, the dewclaws (the thumbs) on a dog's front legs often have no ground contact at all and will grow long and curl around if not trimmed regularly. Relying solely on environmental wear for a working dog is often insufficient and can lead to uneven wear patterns, sharp edges, and nails that are still far too long for optimal paw health and field safety.
The "Quick" – Understanding and Retraining
The quick is the central, sensitive part of your dog's nail that contains blood vessels and nerves. It’s what bleeds and causes pain if you cut too far back. What many people don't realize is that the quick grows with the nail. If a dog's nails are consistently long, the quick will extend further down the nail shaft. This makes it impossible to achieve truly short nails in one go without causing pain and bleeding.
The key to getting those nails short and keeping them that way is a process called "receding the quick." This involves consistently trimming or grinding the nails back in small increments, frequently. When the tip of the nail is removed, the quick gradually recedes further back into the nail bed over time. This means weekly or even bi-weekly trims are essential. You're not just maintaining; you're actively encouraging the quick to retract. It takes patience and consistency, but it's the only way to achieve the short, compact nails that are ideal for a working Springer Spaniel, allowing their paw pads to make full contact with the ground and perform their job without hindrance. Without this understanding, you'll always feel like you're fighting a losing battle against endlessly long nails.
Essential Tools for Effective Nail Care
Having the right tools for nail care isn't just about making the job easier; it's about making it safer and less stressful for both you and your Springer Spaniel. Skimping on quality here can lead to frustrating experiences, painful accidents, and a dog that absolutely dreads getting their nails trimmed.
Clippers: Scissor vs. Guillotine Types
When it comes to clippers, you generally have two main types: scissor-style and guillotine-style. Both have their advocates, but for a working Springer with typically robust nails, the choice can make a difference.
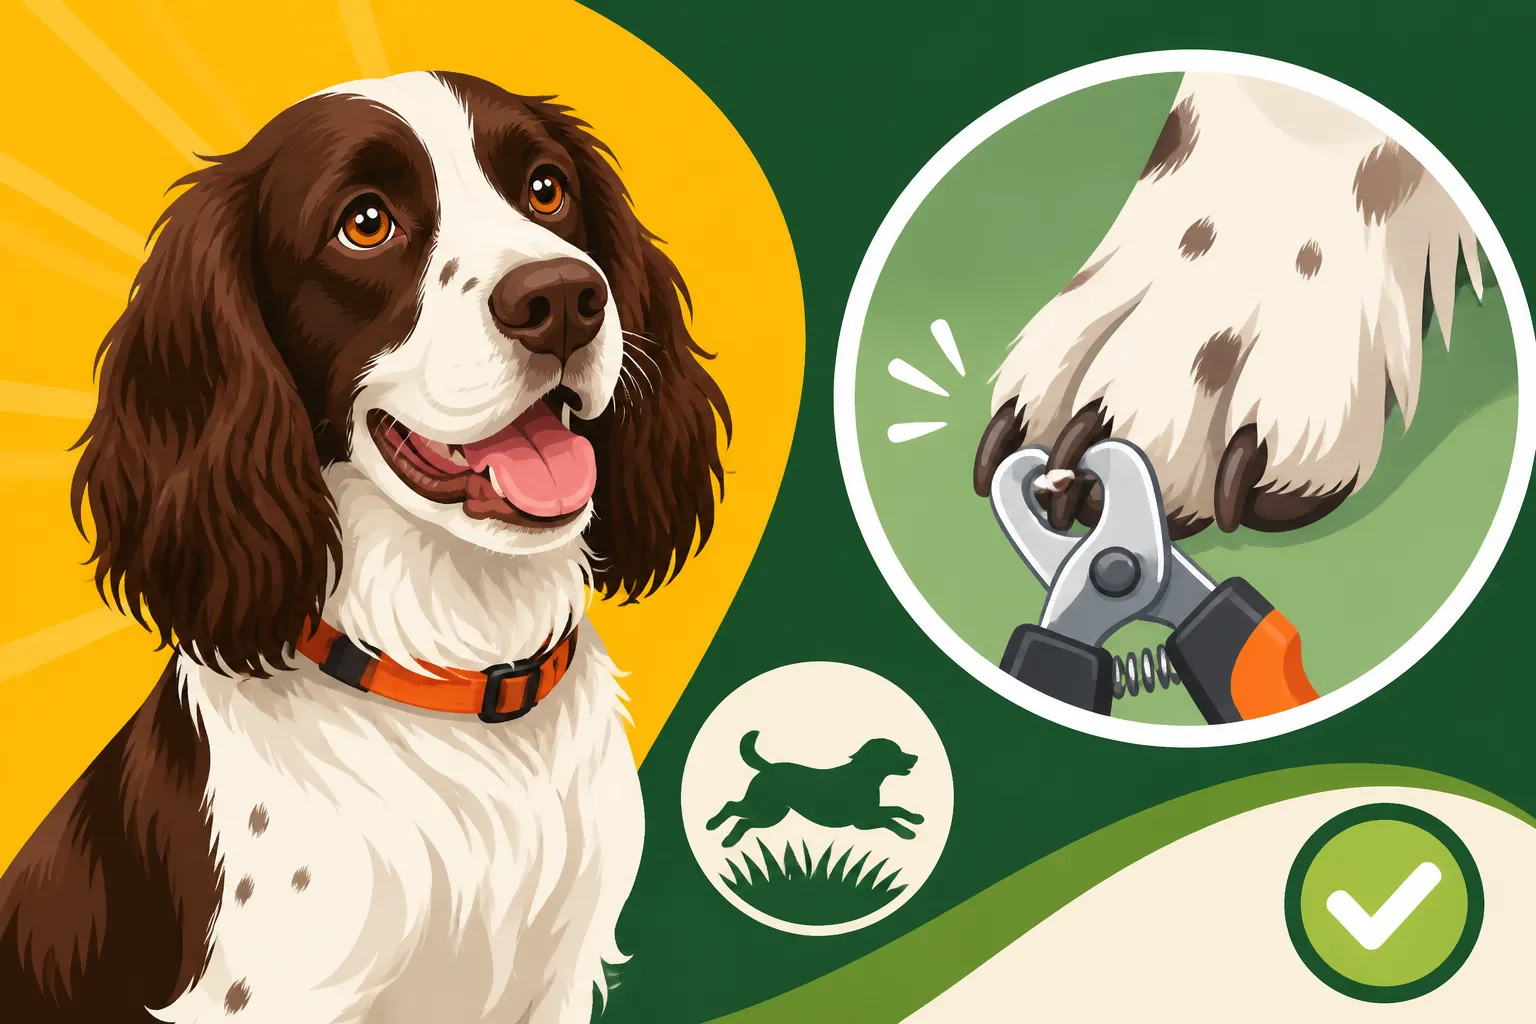
Scissor-style clippers, like those often seen from brands available on Amazon or Chewy, resemble a pair of pliers with sharp, curved blades. They are generally considered more robust and give you good control, making them excellent for thick, hard nails. You can usually get a clean, precise cut with less crushing of the nail. For a strong, active Springer whose nails might be thicker than average, a sturdy scissor-style clipper is often the preferred choice. Make sure the blades are sharp; dull clippers will crush the nail, which is painful and can lead to splits.
Guillotine-style clippers have a small hole where you insert the nail, and a blade slides across to make the cut. These can be easy to use for smaller or medium-sized dogs with thinner nails, but they can struggle with very thick nails, potentially crushing them or not cutting cleanly. If the blade isn't perfectly sharp, they can also leave a rough edge. For the strong nails of a working Springer, many owners find scissor-style clippers offer a better, cleaner cut. Whichever type you choose, prioritize sharpness and ensure they are appropriately sized for your dog's nails. Trying to use small clippers on a large, hard nail is an exercise in futility and frustration.
Grinders/Dremels: The Gentle, Gradual Approach
For many owners, especially those with dark-nailed Springers or dogs averse to clippers, a nail grinder or Dremel tool is a game-changer. These battery-operated or electric rotary tools gently sand down the nail, rather than cutting it. The main advantages are numerous:
- Precision: You can take off tiny increments at a time, significantly reducing the risk of quicking, especially important for dark nails where the quick is hidden.
- Smooth Finish: Grinders leave a smooth, rounded edge, preventing sharp edges that can snag or scratch. This is particularly beneficial for dogs that are in and out of the house, preventing damage to floors and furniture.
- Receding the Quick: Grinding is exceptionally effective at gradually receding the quick, as the friction and vibration stimulate the quick to draw back faster than clipping alone.
The main challenge with grinders is often the noise and vibration, which can be alarming to some dogs. It’s crucial to introduce the grinder slowly and positively, pairing it with high-value treats and praise. Many modern pet-specific grinders are designed to be quieter than industrial Dremels, but even a regular Dremel can be used effectively with proper desensitization. Start by just turning it on near your dog, then touching it to their foot (while off), then briefly to a nail, always rewarding calm behavior. The investment in a good quality grinder, easily found on platforms like Chewy or Amazon, can pay dividends in stress reduction and nail health.
Styptic Powder and Other First Aid
No matter how careful you are, how experienced you become, or how sharp your tools are, an accidental quicking can happen. It’s an unfortunate reality of dog nail care. This is why styptic powder is an absolutely essential item in your grooming kit. Brands like Kwik Stop are readily available and specifically designed to stop bleeding from minor cuts, like a quicked nail.
When a quick is hit, it will bleed quite a bit, and it can be alarming. Having styptic powder immediately on hand allows you to quickly and calmly address the situation. Simply apply a pinch of the powder directly to the bleeding nail tip and apply gentle pressure for a few seconds. The powder helps to constrict the blood vessels and clot the blood, stopping the flow. Without it, the bleeding can be messy and take much longer to subside naturally, potentially increasing your dog's anxiety and making them more wary of future trims. Always keep a fresh container of styptic powder within arm's reach when you're doing nail trims. It’s better to have it and not need it, than to need it and not have it.
A Step-by-Step Guide to Shortening Your Springer's Nails
Getting your Springer Spaniel comfortable with nail trims, and then executing them effectively, involves more than just owning the right tools. It requires patience, consistency, and a positive approach. Remember, this isn't just a chore; it's a vital part of your dog's health and readiness for work.
Desensitization and Positive Reinforcement
The foundation of successful nail care lies in making it a positive, or at least neutral, experience for your dog. For a working Springer, who is often highly intelligent and sensitive, force or intimidation will only create resistance and fear. Start early, ideally when they are a puppy. Touch their paws, handle their toes, and gently tap their nails regularly, always pairing it with calm praise and high-value treats. Even if you're not trimming, get them used to having their feet manipulated. This can be integrated into their daily routine, perhaps during quiet cuddle time. For more tips on early training, see The First Year With a Springer Spaniel Puppy.
When you introduce the clippers or grinder, don't just spring them on your dog. Let them see and sniff the tools. Turn the grinder on briefly in another room, then in the same room, always followed by a treat. Gradually work up to touching the off tool to their paws, then briefly to a nail. Use small, frequent sessions rather than long, drawn-out battles. Each successful step, no matter how small – a sniff, a touch, one tiny snip – should be met with enthusiastic praise and a delicious treat. Think of treats like Ollie dog food as high-value rewards to make these sessions worthwhile for your dog. The goal is to build a positive association, so they view nail care as a routine that brings good things, not something to be feared.
The Trimming Technique
Whether you're using clippers or a grinder, the technique is crucial, especially for dark-nailed Springers.
Using Clippers:
- Positioning: Find a comfortable position for both you and your dog. Some prefer their dog lying down, others sitting. Ensure you have good lighting.
- Hold the Paw Firmly: Gently but firmly hold the paw, extending one toe at a time. This isolates the nail you're working on.
- Identify the Quick (if possible): If your Springer has lighter nails, you'll see the pink quick. For dark nails, you'll need to look at the cross-section of the nail. The quick starts to appear as a small, dark circle in the center of the cut nail.
- Take Small Snips: Angle the clippers to cut the tip of the nail, aiming for an angle that roughly mimics the natural curve of the nail and allows the paw pad to sit flat on the ground. Don't try to take off too much at once. Little and often is the mantra here. You're aiming to take off the hooked tip, leaving the nail almost flush with the paw pad when the dog is standing naturally.
- Check the Cross-Section: After each snip on a dark nail, look at the freshly cut surface. As you get closer to the quick, the center of the nail will start to show a gray or pinkish dot. Stop immediately when you see this, as the quick is very close.
- Dewclaws: Don't forget the dewclaws! These don't get natural wear and can curl into the paw pad if neglected.
Using a Grinder:
- Secure the Paw: Hold the paw firmly, ensuring any long feathering or fur is held back so it doesn't get caught in the grinder.
- Start Slow: Begin with a low speed setting if your grinder offers one.
- Short Bursts: Touch the grinder to the nail for just a second or two, then lift off. This prevents heat buildup, which can be uncomfortable.
- Angle and Shape: Work around the tip and sides of the nail, shaping it into a smooth, rounded edge. Aim to make the nail as short as possible without hitting the quick, allowing the paw pad to make full ground contact.
- Watch for the Quick: Even with a grinder, you need to watch for the quick. On dark nails, the center will darken as you approach it. Grind until you see the distinct dark circle or feel the nail soften (this indicates you're very close).
- Cool Down: If you're doing several nails, take breaks to let the grinder and your dog's nails cool down.
The goal with both methods is to get the nail short enough so it does not touch the ground when your Springer is standing naturally. This takes practice, but with consistent effort, you'll get the hang of it. Getting a Springer Spaniel to Sit for Nail Trims offers more specific guidance on behavior during these sessions.
Frequency and Consistency are Key
This cannot be stressed enough: consistency is the most important factor in keeping a working Springer's nails short. Unlike a casual pet who might get away with monthly trims, your working dog needs far more frequent attention. Aim for weekly or at minimum, bi-weekly trims or grinding sessions.
Why so often? Because, as we discussed, frequent, small removals are what encourage the quick to recede. If you wait too long between trims, the quick will grow out with the nail again, and you'll be back to square one, unable to get the nails truly short without risking a painful quicking incident. Regularity also means each session is shorter and less stressful, as you're only taking off a small amount. This quick, routine maintenance ensures that your dog's nails never get to a problematic length, keeping them comfortable, safe, and ready for whatever the field throws at them. It’s part of The Daily Routine a Springer Spaniel Actually Needs to stay in top form.
Troubleshooting Common Nail Care Woes
Even with the best intentions and tools, nail care can present challenges. It's rare for a dog owner to never encounter a hiccup, especially with a breed as lively and sometimes opinionated as a Springer Spaniel! Knowing how to navigate these common issues can save you a lot of stress.
Fear and Resistance
A dog that is fearful or resistant to nail trims is one of the most common and frustrating problems owners face. This resistance might stem from a previous bad experience (like being quicked), a lack of early desensitization, or simply a sensitive personality. For a breed like the Springer Spaniel, which can be quite "soft" to harsh corrections, a gentle approach is paramount. The Soft Springer Spaniel That Shuts Down If You Shout illustrates why force is counterproductive.
If your Springer shows fear or resistance, the first step is to stop forcing the issue. This will only worsen the problem. Go back to basics:
- Desensitization: Reintroduce the tools very slowly, pairing every exposure with extremely high-value treats. Don't even attempt a trim for a while. Just let them be near the tools, touch the tools, get used to the sounds (for grinders), all rewarded lavishly.
- High-Value Rewards: Use treats they absolutely adore. This is where Ollie dog food or other gourmet treats can come in handy. Make the reward so good that it overrides their apprehension.
- Short, Frequent Sessions: Instead of one big, stressful session, do tiny micro-sessions. One nail a day, or even just touching the tool to a paw, can be a victory.
- Enlist Help: Have a second person distract your dog with treats or gentle petting while you focus on the nail.
- Positive Association: The moment you finish, even if it's just one nail, stop and engage in a fun activity or give them a favorite toy. End on a positive note.
It takes immense patience, but consistently making nail trims a positive experience will gradually erode their fear. It's a marathon, not a sprint.
Accidental Quicks and Bleeding
It happens. You're trimming, perhaps your dog moved, or you misjudged the quick, and suddenly there's a yelp and blood. An accidental quicking is unpleasant for everyone involved, but how you react is crucial for your dog's future willingness to have their nails trimmed.
- Stay Calm: Your dog will pick up on your anxiety. Take a deep breath.
- Apply Styptic Powder: Immediately grab your pre-positioned styptic powder. Take a pinch, press it firmly onto the bleeding nail tip, and hold it there for about 10-15 seconds. If the bleeding doesn't stop, reapply.
- Comfort Your Dog: Once the bleeding is controlled, gently reassure your dog. Don't scold them. Offer a soothing voice and a treat. If they're too upset, don't try to finish the trim right away. Give them a break.
- Rebuild Trust: After a quicking incident, your dog's trust might be shaken. For the next few sessions, focus heavily on positive reinforcement and desensitization, even more so than before. You might want to switch to a grinder for a while, as it feels less invasive than clippers. The goal is to prove that it was an accident and that future sessions won't be as painful.
Remember, a quicked nail is not a reflection of you being a bad owner, but it's an opportunity to reinforce positive associations and handle a stressful situation with grace and calm.
Nails That Just Won't Get Shorter
Sometimes, despite your best efforts with regular trimming, your Springer's nails still seem stubbornly long. This is usually due to an extended quick that has grown out with the nail and requires persistent effort to recede.
- Increase Frequency: If you're trimming weekly, try twice a week. If you're using clippers, consider incorporating a grinder on alternate days. The more frequently you remove even tiny amounts of nail, the faster the quick will retract.
- Combine Methods: Many owners find success using clippers to take off the main length quickly, followed immediately by a grinder to smooth the edges and work closer to the quick without cutting it. This combination leverages the speed of clippers and the precision of a grinder.
- Focus on the Angle: Ensure you are cutting or grinding at the correct angle. The nail should be as short as possible without touching the quick, allowing the pads to properly meet the ground. Often, simply taking the very tip off isn't enough; you need to reduce the bulk of the nail.
- Professional Help: If you're truly struggling to get the nails to a manageable length, or if your dog is extremely resistant, don't hesitate to seek professional help. A veterinarian or an experienced groomer can often "reset" the nails by taking them back further, sometimes even under sedation if necessary, and then you can maintain them from that point. This can be a worthwhile investment if long nails are causing your dog discomfort or affecting their work. A vet visit, as you might undertake for a Whether a Springer Spaniel Needs a Yearly Eye Exam, is also a perfect opportunity to discuss nail care with a professional.
| Feature | Nail Clippers (Scissor Style) | Nail Grinder (Dremel Type) |
|---|---|---|
| Method | Cuts/snips the nail | Sands down the nail |
| Speed | Faster for initial length removal | Slower, more gradual process |
| Precision | Good, but risk of quicking if rushed | Excellent, minimal risk of quicking if used gently |
| Finish | Can leave sharp edges; requires filing | Smooth, rounded edges |
| Quick Recess | Effective with frequent, small trims | Highly effective, quick often recedes faster |
| Noise/Vibration | Silent (apart from "snip") | Can be noisy/vibrating, requires desensitization |
| Best For | Very long nails needing significant trim, thick nails | Dark nails, fearful dogs, fine-tuning, receding quick |
| Skill Level | Medium to High (requires knowing how much to cut) | Medium (requires patience and desensitization) |
| Cost | Generally lower | Higher initial cost |
Disclaimer
This article is for general informational purposes only and does not constitute professional advice. Laws, prices and regulations vary by location and change over time. Consult a qualified professional for guidance on your specific situation.