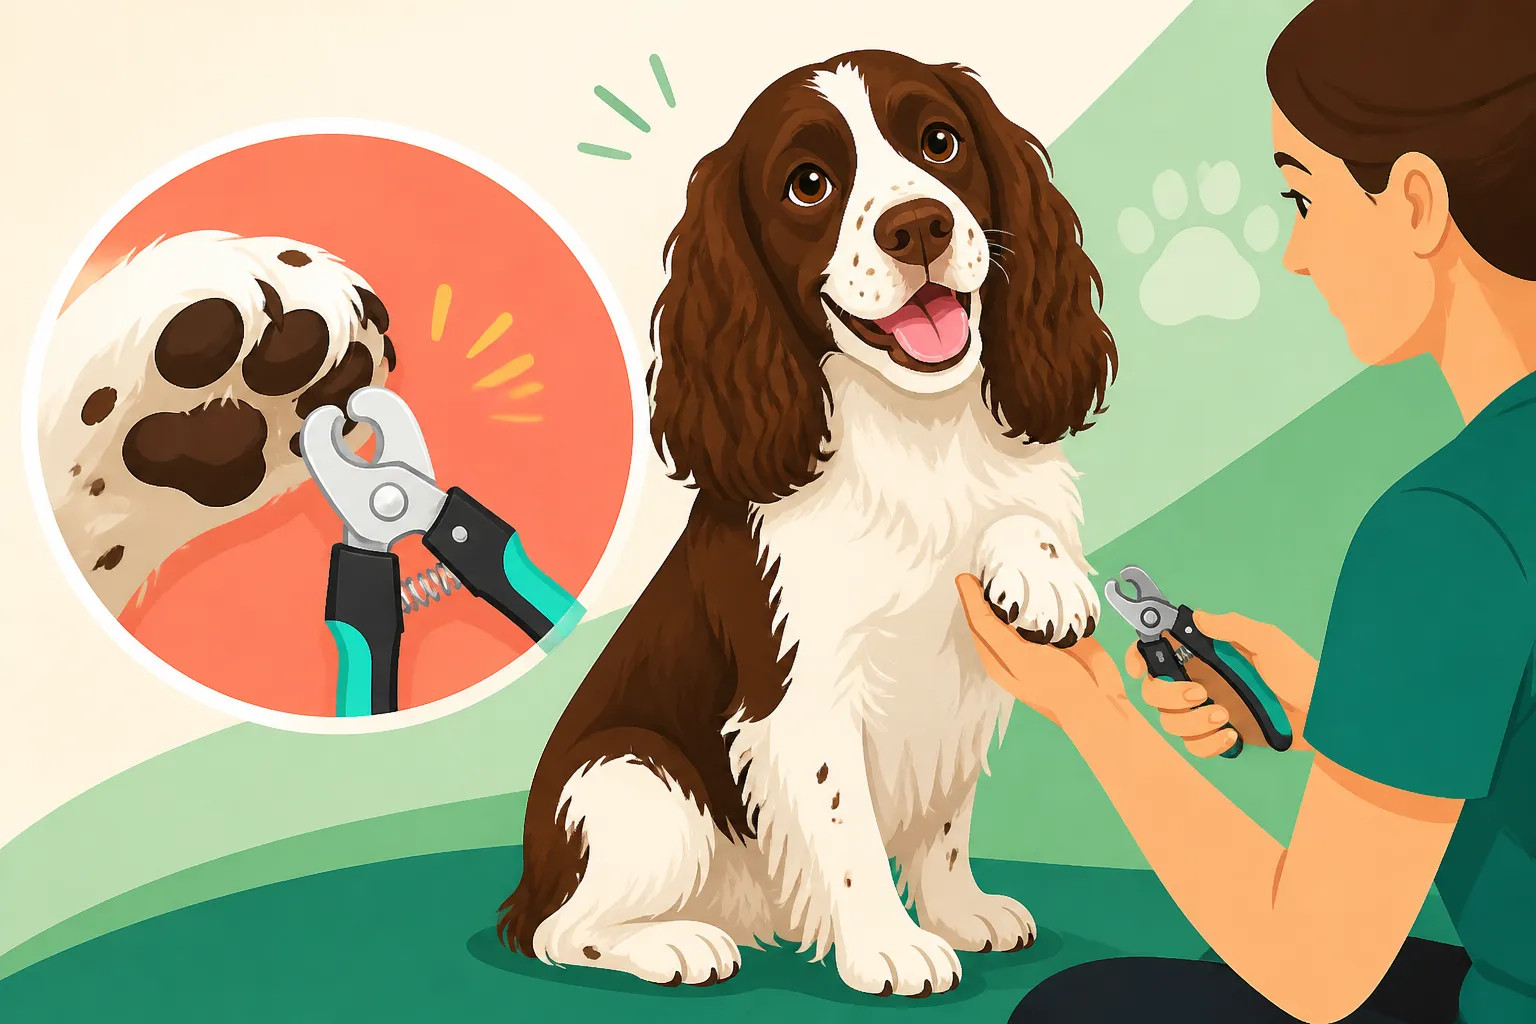
Getting a Springer Spaniel to Sit for Nail Trims
Oh, the nail trim battle! If you're a Springer Spaniel owner, you know this struggle all too well. It often feels like you're trying to wrestle an octopus while simultaneously performing delicate surgery, all while your beloved dog acts like you're trying to remove a limb. It's frustrating, it's exhausting, and it often leaves both you and your furry friend stressed out. But it doesn't have to be this way! This guide is going to walk you through how to transform those stressful nail trims into manageable, even calm, sessions, helping your Springer to sit still and cooperate.
Understanding Why Nail Trims Are Such a Struggle for Springer Spaniels
Let's be honest, very few dogs love getting their nails trimmed. But with Springers, sometimes it feels like they have an extra layer of objection, doesn't it? There are some very good reasons why your enthusiastic, generally happy-go-lucky Springer might turn into a wiggling, protesting bundle of nerves when the clippers come out. Understanding these reasons is the first step toward finding a solution that works for both of you.
The Root of the Resistance: Fear and Discomfort
For many dogs, the issue isn't defiance, it's genuine fear. Think about it from their perspective. Their paws are incredibly sensitive. They use them for everything: running, exploring, digging, and feeling their way across different terrains. Suddenly, someone is grabbing these sensitive parts, often holding them in an awkward position, and then applying a strange, sometimes painful, pressure. The sound of the clippers can be jarring, especially the crunch of a larger nail. The grinder vibrates, and some dogs find that sensation unsettling. It's an unnatural process, and their instinct is often to pull away, to escape what feels threatening. This isn't them being "naughty"; it's them communicating discomfort or fear. Our sensitive Springers, with their keen senses, can be particularly attuned to these sensations and sounds, leading to heightened anxiety.
It’s also worth considering the "quick" – the blood vessel and nerve that runs down the middle of each nail. If you've ever accidentally cut into the quick, you know the sudden yelp and the bleeding that follows. That experience is incredibly painful and terrifying for a dog, and they remember it. One bad experience can set you back months, making every subsequent attempt a terrifying ordeal for them. It’s no wonder they try to avoid it at all costs once they’ve felt that sharp sting.
Early Experiences and Negative Associations
Just like humans, dogs learn through association. If their very first few nail trims were rushed, painful, or simply stressful, they quickly form a negative association with the entire process. Maybe the breeder didn't desensitize them to paw handling. Perhaps the vet tech was fast but a bit rough. Or maybe, in our own frustration, we've inadvertently made the experience worse by holding them down too forcefully or getting angry. These early, negative experiences can create deeply ingrained fear responses that are tough to undo.
A Springer Spaniel puppy, especially during The First Year With a Springer Spaniel Puppy, is like a sponge, soaking up every experience. If you haven't started early and made paw handling a positive, routine event, you might find yourself battling an ingrained aversion later on. They don't forget easily, and that memory is strongly linked to the sight of the clippers or the sound of the grinder. It's crucial to acknowledge that their reluctance isn't personal; it's a learned response to what they perceive as an unpleasant or even dangerous situation.
The Physical Challenges: Quick, Paws, and Positioning
Beyond fear, there are practical challenges. Springer Spaniels are medium-sized dogs with a good amount of energy, and often, a surprising amount of strength when they decide they don't want to do something. Trying to hold a wiggly 40-50 pound dog still, while simultaneously trying to accurately trim small, often dark-colored nails, is a tall order. Their paws are often heavily feathered, especially show-bred Springers, which can make it hard to see the nail clearly. And those thick pads can make gripping the paw awkward.
Many Springer Spaniels have nails that are dark or black, which obscures the quick and makes it incredibly difficult to know how much to trim without hitting it. This adds stress for us as owners because we're constantly worried about hurting them. The whole act of positioning yourself and your dog, trying to find good lighting, and then executing the trim, can feel like a feat of acrobatic engineering. For many working Springers, Keeping a Working Springer Spaniel's Nails Short is essential for comfort and preventing injury, yet the task itself can seem insurmountable.
Building a Positive Foundation: Desensitization and Counter-Conditioning
The key to turning nail trims around for your Springer Spaniel is to change their emotional response from fear to indifference, or even positive anticipation. This is achieved through a combination of desensitization (gradually exposing them to the trigger) and counter-conditioning (changing their emotional reaction to it). It's a marathon, not a sprint, but it's entirely worth the effort for a calmer, happier dog and a less stressful household.
Starting Small: Handling Paws Without the Clippers
Before you even think about bringing out the clippers, you need to make touching your Springer's paws a completely normal, even enjoyable, experience. Start with gentle touches and praise. While they're relaxed – perhaps cuddling on the couch, or after a good long walk that's part of The Daily Routine a Springer Spaniel Actually Needs – simply reach out and lightly touch their shoulder, then move down their leg to their paw. Don't grab, just touch. As soon as you touch it, give them a high-value treat and quiet praise. Take your hand away. Repeat this several times a day.
Gradually, over days or even weeks, increase the duration and intensity of the touch. Go from a light touch to holding their paw gently for a second, then two, then five. Each time, immediately follow with a reward. Don't push past their comfort level. If they pull their paw away, let them. Don't try to force it. Just go back to an easier step and end the session on a positive note. The goal is for them to associate paw handling with good things, not restraint or discomfort. For a The Soft Springer Spaniel That Shuts Down If You Shout, this gentle, no-pressure approach is absolutely essential to build trust.
Introducing the Tools: Clippers as Friends, Not Foes
Once your Springer is completely comfortable with you handling their paws, it's time to introduce the tools – still, without actually trimming anything! Bring out the clippers or grinder. Don't hide them; let your dog see them. Place them on the floor near your dog. As soon as your dog notices them, even just glances at them, give a treat. Repeat this. The goal is for the presence of the tools to predict good things.
Next, you can start gently touching the clippers to their paw, without applying any pressure or making any cutting sounds. Just tap them lightly against a toe, then immediately give a treat. If you're using a grinder, turn it on in another room initially, so the sound is muffled. As they tolerate that, turn it on further away, then closer, always pairing the sound with treats. Eventually, you want to be able to touch the turned-on grinder to their paw (again, no actual grinding yet), and have them remain relaxed, happily taking treats. This gradual exposure is crucial. You can find a wide variety of clippers and grinders on platforms like Amazon or Chewy.
The Power of High-Value Rewards
This entire process hinges on the use of high-value rewards. Regular kibble often isn't enough to counteract deep-seated fear. You need something truly irresistible that your Springer only gets during these special training sessions. Think small pieces of cooked chicken, cheese, hot dogs, or liver paste. Some owners even use fresh dog food options, like those from Ollie, which can be cut into tiny, potent training treats.
The treat should be given immediately after the desired behavior (even if it's just tolerating a touch) and then the "stressor" (the clippers, the paw hold) is removed. This teaches your dog, "When I let them touch my paw, I get chicken! And then it stops." This positive reinforcement loop is incredibly powerful in reshaping their emotional response. The better the treat, the more motivated they'll be to cooperate. Don't underestimate the power of a really good reward – it's your secret weapon in this battle!
Step-by-Step Training for a Cooperative Nail Trim Session
Once your Springer Spaniel is comfortable with paw handling and the sight/sound of the tools, you can start combining these elements into actual trimming sessions. Remember the mantra: slow, steady, and positive. Never rush.
The "Sit" or "Down" Command as a Starting Point
Before you begin any nail work, ask your Springer to perform a known, comfortable command like "sit" or "down." This establishes a calm mindset and a starting position. They're already engaging their brain and doing something they know earns them a reward. If your Springer is excellent at learning (How Fast a Springer Spaniel Learns) new commands, this step should be relatively easy. Reward them generously for holding the "sit" or "down" for a few seconds.
Gradually increase the duration they stay in position while you start handling their paws. You might have them sit, gently touch a paw, say "good sit," and give a treat. The goal is to integrate the paw handling into an already established cooperative behavior. Don't feel pressured to do anything beyond holding the paw at this stage if your dog is still a bit uncertain. Consistency in these preliminary steps will pay dividends later on.
The "Paw" Command and Gentle Handling
Once your dog is sitting or lying down comfortably, you can introduce the "paw" command. Ask for "paw," and as they offer it, gently take hold. Praise and reward. Hold it for a brief second, release, and reward again. Gradually increase how long you hold the paw, making sure to keep it gentle and release immediately if they show signs of stress.
When you're holding the paw, make sure your grip is firm enough to be secure, but never painful or restrictive. Gently spread their toes apart. Use a thumb on top of the paw and your fingers underneath to support it. Speak in a calm, reassuring voice. The goal is to make this feel like a routine interaction, not a wrestling match. For an older Springer, especially if you're Caring for a Springer Spaniel Past Nine, you might need to be extra gentle and aware of any Joint Supplements for a Springer Spaniel they might be on, as arthritis can make paw manipulation uncomfortable.
The One-Nail-At-A-Time Approach
This is perhaps the most crucial technique for building success. Don't try to do all four paws, or even all the nails on one paw, in a single session. Aim for one nail. That's right, just one. Get your Springer to sit, gently take a paw, snip one tiny sliver off one nail, immediately praise and give that high-value treat, and then stop. That's it for the session. This teaches them that the scary part is over quickly and results in a fantastic reward.
Over subsequent days, you might do two nails, then three, then eventually a whole paw. But if your dog shows any signs of stress – pulling away, panting, yawning, lip licking – you stop. You go back to the last step where they were comfortable. The idea is to keep every single session positive and short, always ending before they get stressed. This might mean it takes a week or more to do all their nails, but it's worth it for their comfort and your sanity.
Position for Success: Making It Comfortable for Both of You
How you position your Springer can make a huge difference. Avoid wrestling them onto their back or forcing them into an uncomfortable position. For many dogs, having their head turned away from the clippers can reduce anxiety.
Here are a few common positions that often work well:
- Sitting on the floor: You sit on the floor, and your Springer sits in front of you or between your legs. You can then gently lift a paw.
- On a table (for smaller Springers or very cooperative dogs): A non-slip mat is essential. This can raise them to a comfortable height for you, but only use if your dog is completely comfortable on a table.
- While they're lying down: If your Springer is relaxed in a "down" position, you might be able to gently lift a paw and trim a nail or two while they're resting.
- With a helper: A second person can be incredibly useful, especially at the beginning. One person can distract with treats and praise, while the other handles the paw and trims the nail.
No matter the position, ensure you have good lighting to clearly see the quick, especially if your Springer has dark nails. And remember, keep your tone of voice calm and reassuring throughout.
Tools and Techniques to Make Nail Trims Easier
Beyond the training, the right tools and a few practical tips can also significantly ease the nail trimming process for your Springer Spaniel. It's about combining behavior modification with smart equipment choices.
Choosing the Right Clippers or Grinder for Your Springer
There are two main types of nail trimming tools: clippers and grinders. Both have their pros and cons, and what works best for your Springer Spaniel might be different from what works for another dog.
- Guillotine Clippers: These are often used for smaller to medium-sized nails. The nail goes into a hole, and a blade cuts through it. They can be quick but may pinch or crush the nail if dull or not used correctly, which can be painful. For What Clippers for a Springer Spaniel Cost, these are generally on the lower end.
- Scissor-style Clippers: These work like a pair of scissors and are often preferred for larger, thicker nails, or for very tough nails that guillotine clippers struggle with. They offer more control for some users.
- Nail Grinders: These use a rotating abrasive bit to file down the nail. Many owners find them less intimidating than clippers, as there's no sharp "snip" sound or sudden pressure. They reduce the risk of cutting the quick and can create a smoother finish. However, they vibrate, create a grinding sound, and produce dust, which some dogs dislike.
You might need to experiment to find what your Springer tolerates best. Some dogs are terrified of the clipper sound but fine with a grinder, while others hate the grinder's vibration. Check out customer reviews on sites like Chewy or Amazon for quieter grinders or clippers that are highly rated for ease of use.
| Feature | Nail Clippers (Guillotine/Scissor) | Nail Grinder |
|---|---|---|
| Action | Quick snip/cut | Files/sands down nail |
| Noise | "Snip" or "crunch" sound | Vibrating, whirring sound |
| Speed | Faster per nail | Slower, more gradual removal |
| Precision | Can be harder to gauge quick, especially dark nails | Easier to avoid quick with gradual filing |
| Finish | Can leave sharp edges, may need filing | Smooth, rounded edge |
| Dust/Debris | Minimal | Produces fine nail dust |
| Comfort | Some dogs dislike the sudden pressure/sound | Some dogs dislike vibration/sound; often preferred by others |
| Cost | Generally lower | Can be higher, especially for quieter models |
Managing the Quick: When Things Go Wrong and How to Prepare
No matter how careful you are, accidentally cutting the quick can happen. It's painful, it bleeds, and it can set back your training significantly. Always have styptic powder (also known as quick-stop powder) readily available before you even start a session. This powder rapidly clots blood and reduces pain. If you do cut the quick, remain calm. Apply the powder firmly to the bleeding nail for a few seconds. Offer a high-value treat to try and counteract the negative experience.
To avoid the quick, learn to identify it. On light-colored nails, it's visible as a pinkish area inside the nail. On dark nails, it's much harder to see; look for a small, dark dot in the center of the cut surface as you trim. If you see this dot, stop. Trim only tiny slivers at a time, especially with dark nails. You're aiming for the nail to be flush with the paw pad when your Springer is standing. If you're unsure, it's always better to trim less than too much. Remember, Whether a Springer Spaniel Owner Can Groom at Home includes learning these critical skills to keep your dog safe and comfortable.
The Benefits of Regularity
Consistency is truly your best friend when it comes to nail care. The more frequently you trim your Springer's nails, the easier and less stressful it becomes for several reasons:
- Shorter quick: Regular trimming encourages the quick to recede, making future trims safer and allowing you to get the nails shorter over time. If nails get too long, the quick grows out with them, making it impossible to trim them short without causing pain.
- Less resistance: Frequent positive exposure helps solidify the idea that nail trims aren't so bad. If you only do it once every few months, your dog has more time to regress and rebuild their fear.
- Prevents problems: Overly long nails can cause discomfort, make it difficult for your dog to walk properly, lead to splayed toes, and even contribute to joint issues over time. They can also snag and tear, which is a painful emergency. This is particularly important for active dogs like Springer Spaniels.
- Routine: Dogs thrive on routine. If nail trimming becomes just another predictable part of their The Daily Routine a Springer Spaniel Actually Needs, like meal times or walks, it loses some of its intimidating novelty.
Aim for a trim every 1-2 weeks, even if it's just one or two nails at a time. If you use a grinder, you might do a quick touch-up every few days. This frequent, low-stress approach is far more effective than infrequent, intense battles. If you feel overwhelmed, remember that professional groomers or veterinary technicians can often help with How Often a Springer Spaniel Needs a Groomer or show you techniques, but the foundational work of positive association at home is invaluable.
Disclaimer
This article is for general informational purposes only and does not constitute professional advice. Laws, prices and regulations vary by location and change over time. Consult a qualified professional for guidance on your specific situation.