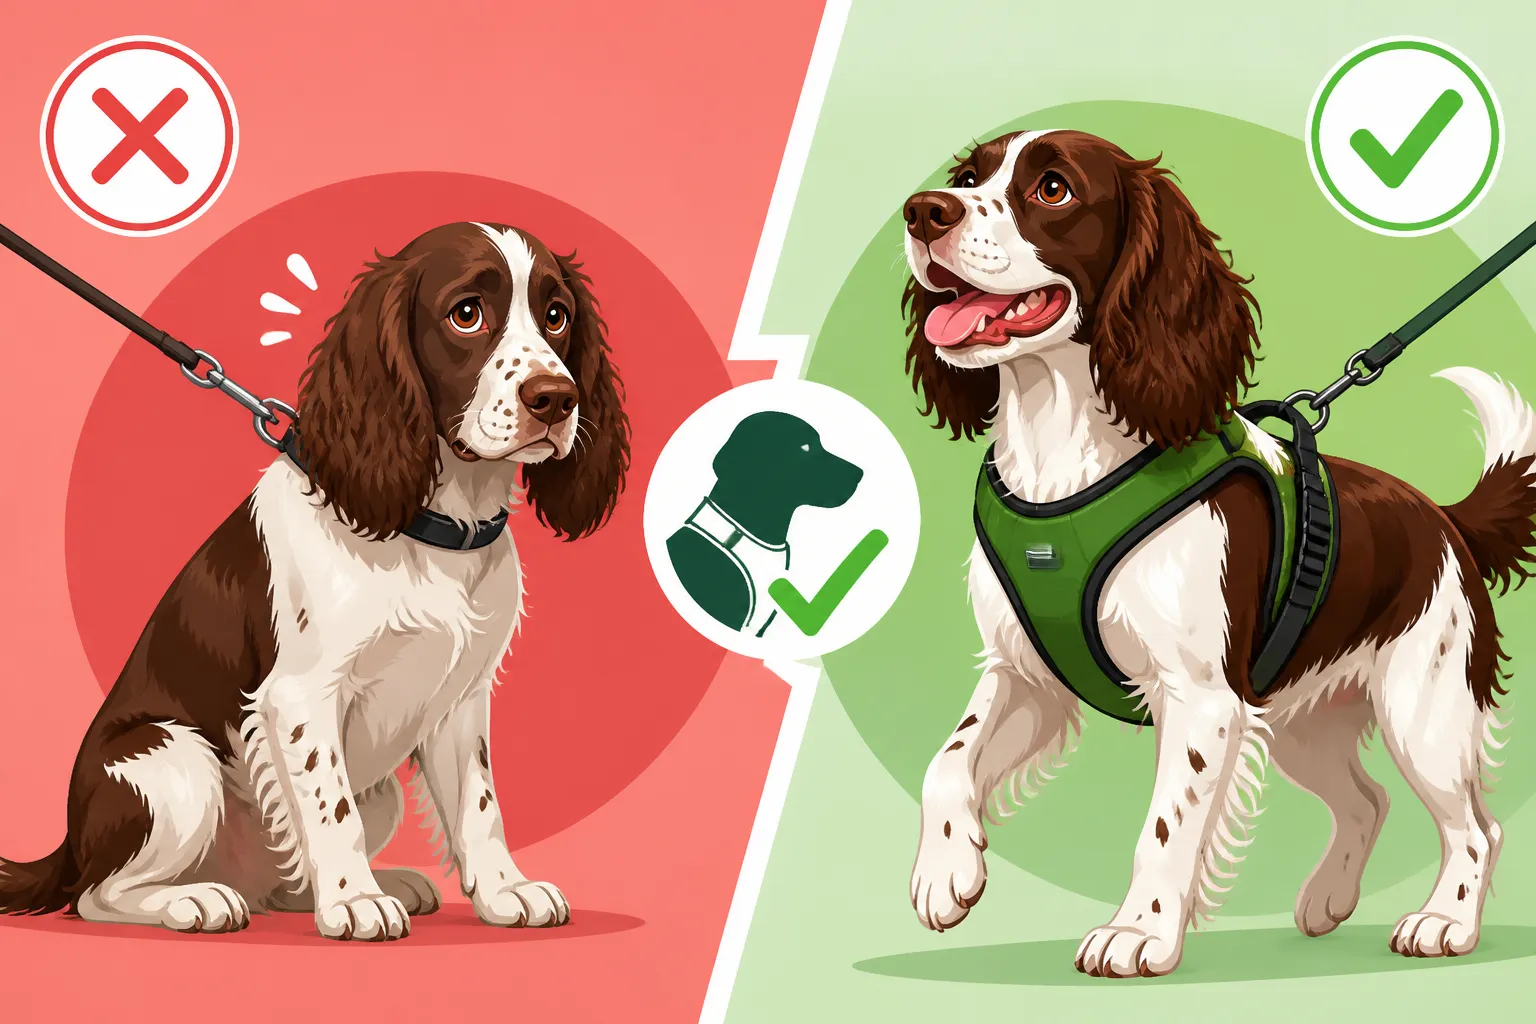
Whether a Harness Mats a Springer Spaniel
It's a common frustration, isn't it? You get your beautiful Springer Spaniel a comfortable, well-fitting harness for walks, only to discover unsightly, painful mats forming right where the straps sit. It feels like a no-win situation: you want to keep your dog safe and comfortable on leash, but the very equipment designed to do that seems to be ruining their lovely coat. This guide is here to walk you through why harnesses tend to create these tangles, how to choose the right one, and, most importantly, how to prevent and manage matting so your Springer can enjoy their adventures without the grooming nightmare.
Understanding Why Harnesses Cause Matting in Springer Spaniels
Let's be honest, those luxurious coats of our Springer Spaniels are a double-edged sword. They're gorgeous, soft, and make for the best snuggles, but they're also a magnet for dirt, burrs, and, yes, mats. When you add a harness into the mix, you're essentially creating a perfect storm for tangles and felting, especially in specific areas.
The Mechanics of Friction and Coat Type
The primary culprit behind harness-related matting is simple friction. Every time your Springer Spaniel moves—walking, running, sitting, lying down—the harness rubs against their coat. This constant rubbing causes the individual hairs to snag, intertwine, and eventually compact into dense, painful mats. It's like taking a handful of fine thread and constantly knotting it together with repetitive motion.
Springer Spaniels have a double coat: a soft, dense undercoat for insulation and a longer, water-resistant outer coat. This combination, while fantastic for keeping them warm and dry in the field, is particularly prone to matting. The softer undercoat easily tangles, and the longer guard hairs then wrap around these tangles, solidifying them into knots. Furthermore, the "feathering" – those longer hairs on their legs, chest, and belly – are especially delicate and more susceptible to matting than the shorter hair on their back. It's often the areas where the harness straps lie directly over this feathering that you'll notice the worst of the matting. You might find yourself wondering Whether a Show Springer Spaniel Has More Coat and how that impacts grooming.
Common Hotspots for Harness-Induced Mats
While mats can technically form anywhere a harness sits, certain areas on a Springer Spaniel are notoriously problematic. Understanding these hotspots can help you focus your prevention efforts.
- Behind the Front Legs (Armpits): This is perhaps the most common and often the most severe area for matting. The straps of most harnesses run directly through the "armpit" area, where there's a lot of movement and often delicate feathering. The constant flexion and extension of the legs combined with the harness pressure creates relentless friction. These mats can be incredibly tight and painful, pulling on the skin with every step. I've lost count of how many times I've found stubborn mats right here after a particularly long walk or a vigorous play session. It's a key area to monitor, especially if your dog has lush Whether a Springer Spaniel's Armpits Mat.
- Across the Chest and Sternum: Many harnesses have a strap that goes horizontally across the chest. This area also sees a good deal of friction, especially as your dog leans into the harness or pulls slightly. The chest feathering here is typically long and soft, making it an easy target for tangles.
- Along the Ribcage/Sides: For harnesses with belly straps or side panels, the areas along the ribcage can also develop mats. While often less severe than the armpit mats, they can still become dense and uncomfortable if left unchecked.
- Around the Neck and Shoulders: If the harness has a neck opening or straps that run close to the neck, friction can occur there, especially if your Springer has a thick mane or extensive feathering around the collar area.
The severity of matting can also depend on the type of activity. A Springer Spaniel that is primarily a house pet doing leash walks might experience less severe matting than a working dog constantly moving through brush in a harness. However, even a leisurely stroll can cause issues if the coat isn't prepared or the harness isn't suitable.
Choosing the Best Harness to Prevent Matting
Selecting the right harness is one of your most powerful tools in the fight against matting. It’s not just about what looks good; it’s about material, design, and most importantly, fit.
Harness Material Matters
The fabric and construction of a harness play a huge role in how much it will interact with your Springer's coat.
- Smooth, Silky Fabrics: Look for harnesses made from smoother, softer materials like padded nylon or even fleece-lined straps. These materials create less friction against the coat than rougher webbing or unlined nylon. Think of it like this: a silk scarf glides over your hair, while a wool sweater might create static and tangles. Some brands specifically design harnesses with softer edges to prevent irritation and minimize coat damage. You can often find a good selection of these on platforms like Chewy or Amazon, where reviews often mention "soft" or "gentle on coat."
- Avoid Rough Webbing: Harsh, coarse webbing, especially if it's thin, is a recipe for disaster. These materials tend to "grip" the hair and pull at it, quickly forming mats. If you must use a webbing harness, ensure the straps are wide and ideally padded or covered with a smoother fabric where they contact the body.
- Padded vs. Unpadded: Padding is your friend! A harness with well-placed padding, particularly in those hotspot areas like the chest and armpits, can help create a buffer between the strap and the coat. This reduces direct friction and offers a more comfortable experience for your dog.
Harness Design and Fit
Beyond material, the design of the harness and how well it fits your individual Springer Spaniel are critical.
- Y-Front vs. H-Back vs. Step-In:
- Y-Front Harnesses: These harnesses have a strap that goes between the front legs and forms a "Y" shape on the chest. They are often considered better for comfort and shoulder mobility. However, the strap running between the front legs can still cause matting in the armpit area if not properly fitted or padded.
- H-Back Harnesses: These often have two horizontal straps (one across the chest, one further back on the belly) connected by a vertical strap along the back. This design can distribute pressure more evenly and often avoids the deep armpit friction of some Y-front styles. This can be a good option for reducing friction points.
- Step-In Harnesses: These are usually very minimal, with straps forming loops for the dog to step into. While they might seem less intrusive, the thin straps can still create friction points, especially if they are narrow.
- Minimalist Designs: Sometimes, less is more. A harness with fewer straps and less material might reduce the overall surface area for friction. However, this needs to be balanced with security and comfort. A very thin strap might cut into the coat more aggressively if it's not well-distributed.
- The Importance of a Proper Fit: This cannot be stressed enough. A harness that is too loose will slide around, increasing friction and making matting worse. A harness that is too tight will dig into the skin and compress the coat, also leading to mats and discomfort.
- Two-Finger Rule: You should be able to comfortably slide two fingers under any strap of the harness.
- Check Armpit Clearance: Ensure there's enough space around the armpits. If the strap is rubbing right against the back of the front leg, it's a matting disaster waiting to happen. Some harnesses are designed with a more "athletic" cut to pull the straps further back from the armpit.
- No Gapping: The harness should sit snugly without gapping anywhere.
- Regular Adjustment: Springers can fluctuate in weight and coat thickness throughout the year, so check the fit regularly and adjust as needed. If you’ve just given them a good bath and brush, the fit might change slightly from when their coat was more compressed.
Here's a quick comparison of common harness types and their matting potential:
| Harness Type | Description | Matting Potential (Springer Spaniel) | Best Use Case |
|---|---|---|---|
| Standard Y-Front | Strap between front legs, Y-shape on chest | Moderate to High (armpits, chest) | General walking, good shoulder movement |
| H-Back / Vest | Straps over back, around chest & belly, H-shape | Low to Moderate (less armpit friction) | General walking, less strain on specific areas |
| No-Pull (Front Clip) | Clip on chest redirects pulling | Moderate (chest friction, may shift) | Training for pullers, short walks |
| Step-In | Minimal straps, dog steps into loops | Low to Moderate (thin straps can cut) | Very light use, small dogs, less active |
| Padded/Fleece Lined | Any type with soft padding, especially in hotspots | Low | All uses, especially for active dogs or long wear |
Remember, a perfect harness might not exist, but an informed choice can significantly reduce matting. Don't be afraid to try a few different styles or brands to see what works best for your dog's unique body shape and coat.
Essential Grooming Routines to Combat Harness Mats
Even with the perfect harness, a Springer Spaniel's coat still needs diligent care to prevent matting. Grooming is your first line of defense, transforming a potential problem into a manageable routine. It's often the grooming, or lack thereof, that really determines The Show Springer Spaniel Coat That Adds a Groomer to Your Budget versus a manageable at-home routine.
Daily Brushing, Especially Post-Walk
This is non-negotiable for a Springer Spaniel, particularly if they wear a harness regularly. A quick, thorough brush every day, or at least after every walk or outdoor adventure where the harness was worn, can make a world of difference.
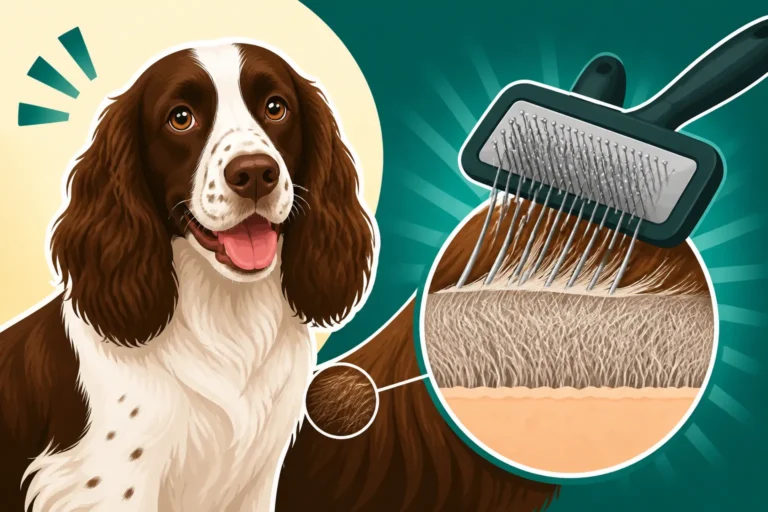
- Focus on Harness Contact Points: Pay extra attention to the areas where the harness sits: behind the front legs, across the chest, and along the sides. Use a slicker brush to get through the outer coat and catch any nascent tangles in the undercoat. Then, follow up with a metal comb, especially in the feathering, to ensure you're getting all the way down to the skin. If you find yourself needing to trim those long feathers, this post on Trimming a Springer Spaniel's Feathering might be helpful.
- Line Brushing Technique: For areas prone to matting, use a technique called "line brushing." Part the hair and brush small sections at a time, working your way from the skin outwards. This ensures you're not just brushing the top layer of hair and missing the tangles underneath.
- Detangling Spray: A good quality detangling spray or conditioning spray can be a lifesaver. Spritz a little on the coat before brushing, especially in high-friction areas. This lubricates the hair, making it easier for the brush and comb to glide through, reducing breakage and preventing tangles from tightening. You can find many excellent options on Amazon or Chewy.
Proper Bathing and Drying Techniques
While daily brushing is key, regular baths are also important for maintaining coat health and preventing mats. However, incorrect bathing can actually cause matting!
- Thorough Pre-Bath Brush: Always, always, always thoroughly brush and detangle your Springer Spaniel before bathing. Water will tighten any existing tangles into solid mats that are incredibly difficult, if not impossible, to remove without cutting.
- Gentle Shampoo and Conditioner: Use a good quality dog-specific shampoo and follow with a conditioner. The conditioner helps smooth the hair cuticle, making it less prone to tangling. When applying, gently work it into the coat rather than scrubbing vigorously, which can create knots.
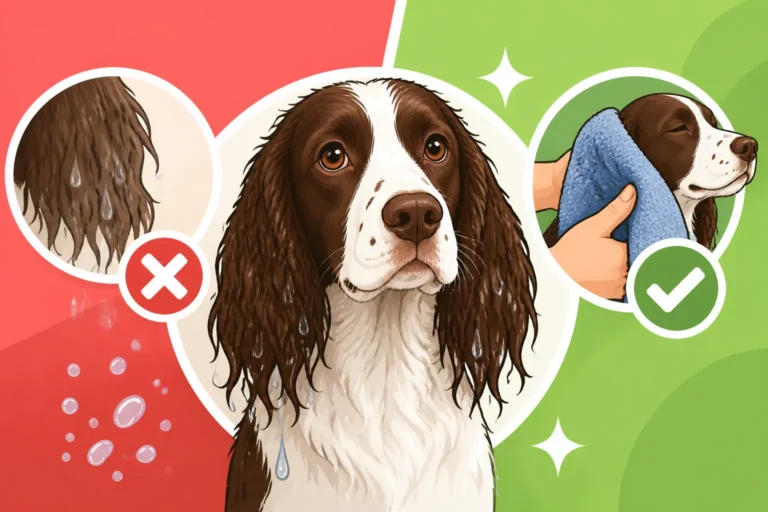
- Squeeze, Don't Rub, Dry: After rinsing, gently squeeze excess water from the coat. Do not rub vigorously with a towel, as this will create a matted mess. Instead, blot and squeeze.
- Blow Drying and Brushing: The best way to prevent matting after a bath is to thoroughly blow-dry your Springer Spaniel while brushing their coat. Use a pet-specific force dryer or a human hair dryer on a cool/low setting, continuously brushing the coat as it dries. This ensures the hair dries straight and tangle-free. This is especially crucial for Why a Springer Spaniel's Coat Holds Odor and overall coat health. If your dog isn't used to a blow dryer, introduce it gradually with lots of positive reinforcement.
Routine Trimming and Professional Help
Sometimes, regular home grooming isn't quite enough, or certain areas just need a little extra attention.
- Strategic Trimming: For very heavy feathering in the armpit area or on the chest, a professional groomer can often strategically trim these areas slightly shorter. This doesn't mean shaving off all the beautiful feathering, but a judicious trim can significantly reduce the amount of hair available to mat without altering the dog's classic look. This can be a practical consideration for The Feathering a Show Springer Spaniel Drags Through Everything.
- Professional Grooming Schedule: Consider a regular grooming schedule with a professional, even if it's just every 6-8 weeks for a tidy-up and de-shedding. They have the tools and expertise to tackle stubborn undercoat and potential matting zones that might be tricky for you to reach or manage at home. They can ensure your dog's Two Coats, Two Routines: Field and Show Springer Spaniel Grooming are maintained beautifully.
- Coat Health from Within: While external care is paramount, remember that a healthy coat starts from within. A balanced diet, like those offered by companies such as Ollie, can contribute to a strong, resilient coat that is less prone to breakage and tangling. Good nutrition means healthier hair follicles, leading to a stronger coat that's more resistant to matting.
What to Do When Mats Have Already Formed
Despite your best efforts, sometimes mats happen. The key is to address them quickly and correctly to prevent discomfort and further complications. Mats can be very painful, pulling on the skin and even leading to skin infections underneath.
Tools and Techniques for Detangling Small Mats
For small, loose mats, you might be able to tackle them at home with the right tools and a lot of patience.
- Essential Tools:
- Mat Splitter: This is a tool with small, sharp blades designed to cut through mats without cutting the dog's skin. Use it with extreme caution.
- Dematter Tool/Rake: These tools have curved, sharp teeth that can pull apart mats.
- Slicker Brush: Essential for brushing out loosened tangles.
- Metal Comb: For finishing and ensuring all tangles are gone.
- Blunt-Nosed Scissors: Only for cutting between the mat and the skin, never directly into the mat itself.
- Detangling Spray/Cornstarch: A good detangling spray helps lubricate the hair. Cornstarch can sometimes help absorb oil and create friction, making the mat easier to pull apart.
- Step-by-Step Approach:
- Locate and Isolate: Gently find the mat. Use your fingers to separate it from the surrounding healthy hair.
- Protect the Skin: This is CRITICAL. Place your fingers between the mat and your dog's skin to pull the skin taut. This prevents the tool from pulling or cutting the skin.
- Apply Detangler: Generously spray the mat with a detangling spray. Let it sit for a minute or two to soak in.
- Work from the Outside In: Do not try to brush through the entire mat at once. Start at the very edge of the mat, closest to the hair ends, and gently pick at it with the corner of a slicker brush or the teeth of a dematter tool.
- Split the Mat (If Necessary): If the mat is wide, use a mat splitter or blunt-nosed scissors to carefully cut through the mat (not against the skin) into smaller sections. This makes it easier to brush out. Always cut in the direction of hair growth.
- Comb Through: Once the mat is mostly broken up, use a metal comb to gently comb through the area, making sure all knots are gone. You should be able to smoothly run the comb through the area from root to tip.
Remember, this process takes time and patience. If your dog shows signs of pain or distress, stop immediately. A few minutes of gentle work is better than a forced, painful session. This diligence can help prevent severe matting, as discussed in How Often a Springer Spaniel Needs Brushing.
When to Seek Professional Help
There are times when DIY detangling is simply not the best, or even a safe, option.
- Large, Tight, or Skin-Deep Mats: If a mat is large, very tight against the skin, or if you can't get your fingers between the mat and the skin, it's time for a professional groomer. Attempting to cut or pull these mats can cause severe pain, skin lacerations, or bruising.
- Matted Over Sensitive Areas: Mats in sensitive areas like the inner thighs, genitals, or deep in the armpits are best handled by a professional.
- Dog in Distress: If your Springer Spaniel is highly uncomfortable, showing signs of pain, snapping, or trying to bite when you attempt to detangle, a professional groomer or veterinarian is the safer choice. They have experience with nervous dogs and often have special tools or techniques.
- Risk of Skin Issues: Beneath tight mats, the skin can become irritated, inflamed, or even develop infections (hot spots). A groomer can assess the skin condition, and if there are concerns, they might recommend a vet visit. Severely matted dogs sometimes require sedation at the vet for safe and humane mat removal. Whether a Matted Springer Spaniel Has to Be Shaved is a real consideration when mats are too severe.
Taking preventative measures with harness choice and grooming is truly the best strategy. But knowing when to call in the cavalry is equally important for your Springer Spaniel's comfort and well-being. Don't feel guilty if you need to; a clean, comfortable dog is the ultimate goal.
Disclaimer
This article is for general informational purposes only and does not constitute professional advice. Laws, prices and regulations vary by location and change over time. Consult a qualified professional for guidance on your specific situation.